Prerequisites
For this tutorial, you will need a MikroTik with the following:
- RouterOS v7.x
- DHCP server
- Firewall
- NAT
- A public IP address
- A domain name (optional)
Make sure that your router has the correct time setting, either by connecting to an NTP server or by setting it manually.
Creating Certificates
You will need to generate three certificates: a CA certificate, a client certificate, and a server certificate.
1. Create CA Certificate
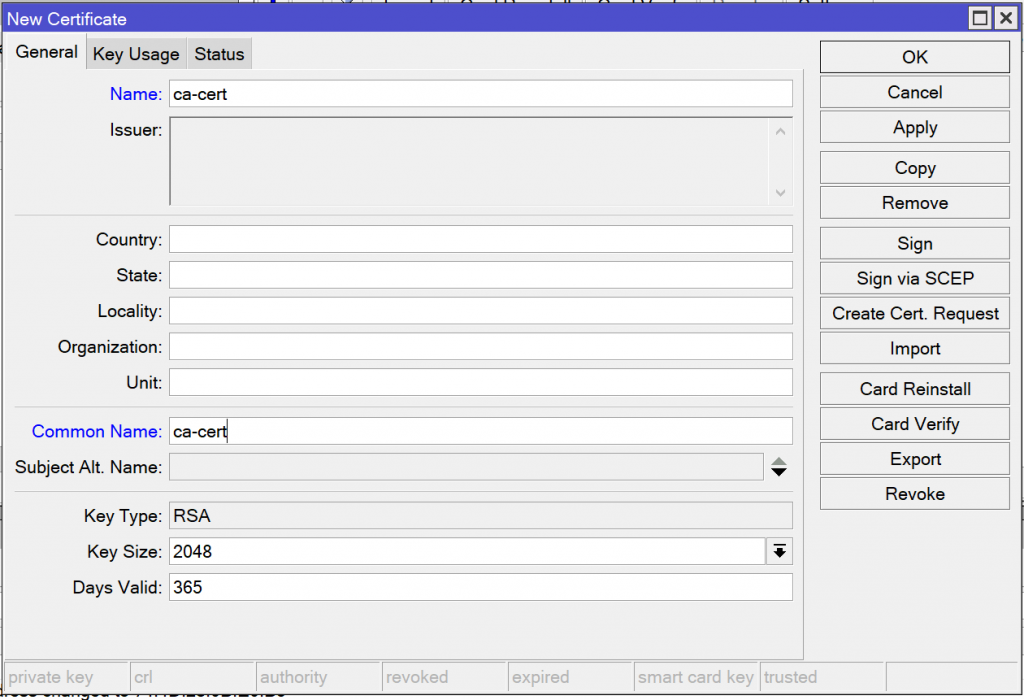
/certificate add name=ca-cert common-name=ca-cert days-valid=365 key-size=2048 key-usage=crl-sign,key-cert-signOpen the System -> Certificates menu and create a certificate called ca-cert. Set the common name to ca-cert, the key size to 2048 bits, and the days valid to 365.
Open the Key Usage tab and check “key cert. sign” and “crl sign”.
Open the Key Usage tab and check “key cert. sign” and “crl sign”

2. Create Server Certificate
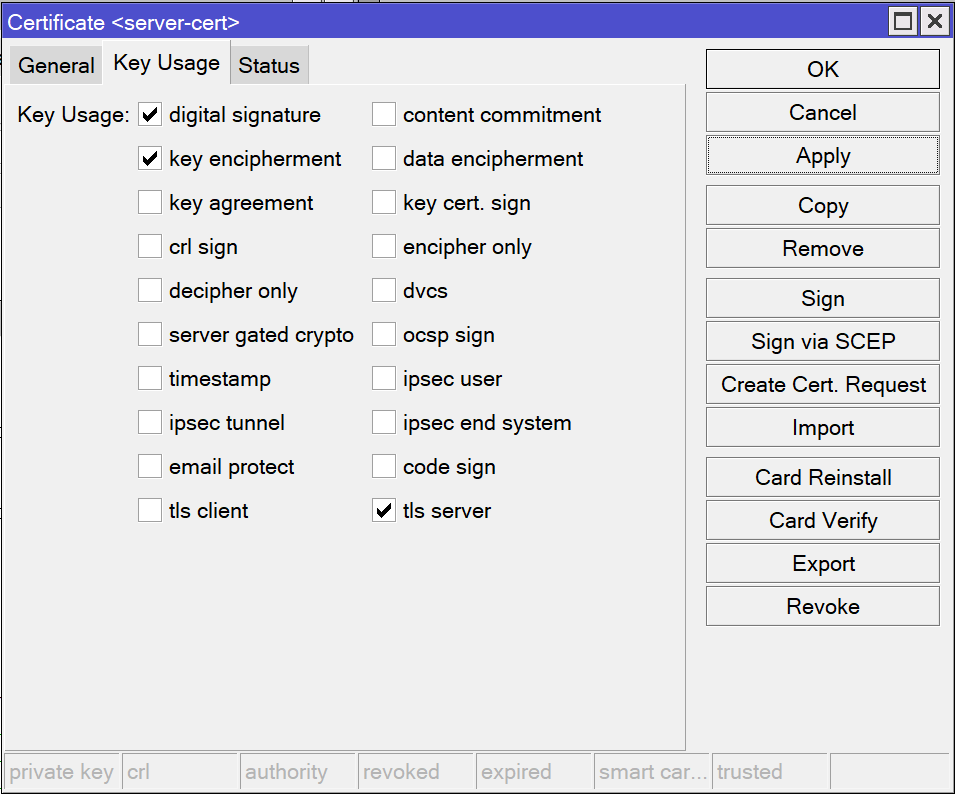
/certificate add name=server-cert common-name=server-cert days-valid=365 key-size=2048 key-usage=digital-signature,key-encipherment,tls-serverOpen the System -> Certificates menu and create a certificate called server-cert. Set the common name to server-cert, the key size to 2048 bits, and the days valid to 365.
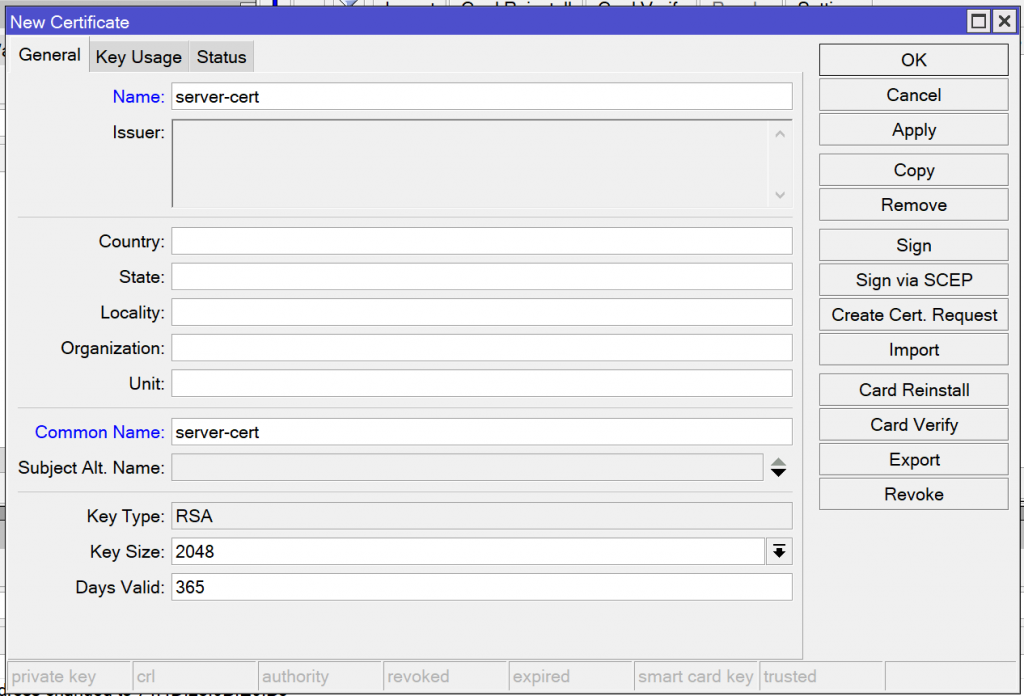
Navigate to the Key Usage tab and check “digital signature”, “key encipherment”, and “tls server”
3. Create System Certificate
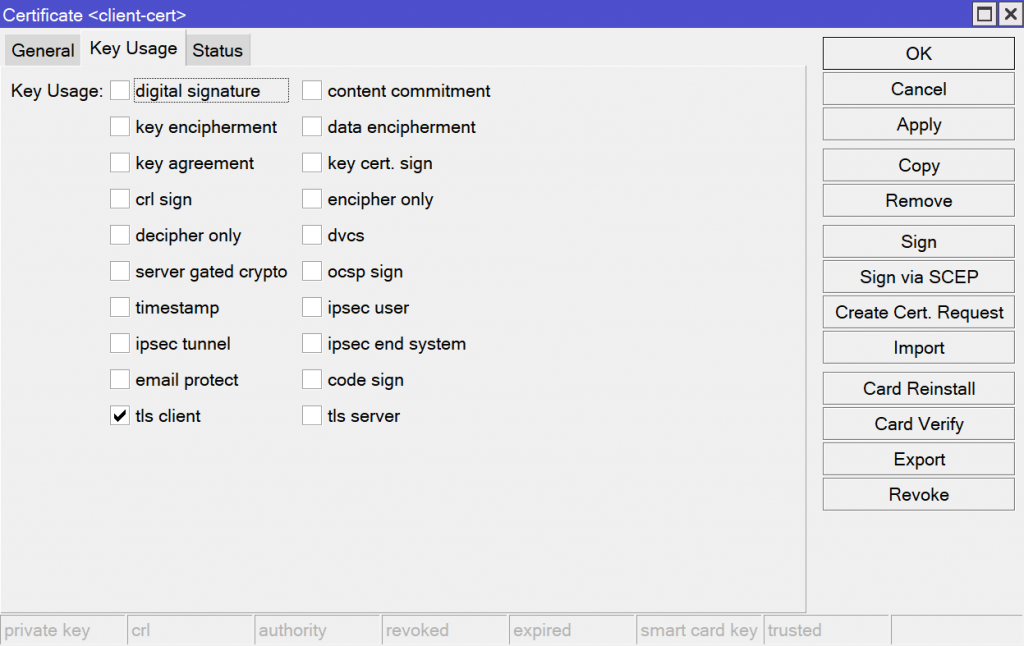
/certificate add name=client-cert common-name=client-cert days-valid=365 key-size=2048 key-usage=tls-clientOpen System -> Certificates and create a certificate called client-cert. Set the common name to client-cert, the key size to 2048 bits, and the days valid to 365.

Navigate to the Key Usage tab and check “tls client”
Signing the Certificates
1. Signing the CA Certificate
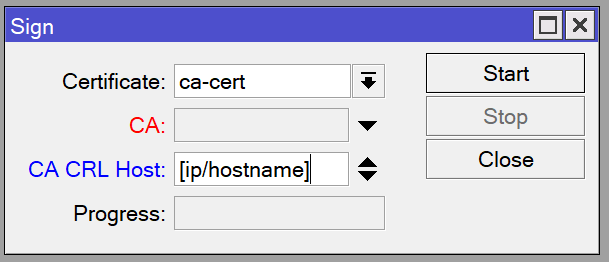
/certificate sign ca-cert name=ca-cert ca-crl-host="[your public IP or hostname]"Click on your CA certificate in the menu and click the Sign button in the pane on the right. Change the CA CRL Host to your domain name or public IP address. Click Start and wait for it to be signed. This may take a little while depending on which model of MikroTik you have.
2. Signing the Client and Server Certificates
/certificate sign server-cert name=server-cert ca=ca-cert
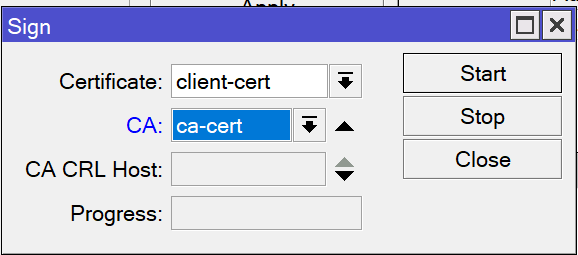
/certificate sign client-cert name=client-cert ca=ca-certOpen the server certificate and click the Sign button. Change the CA to your CA certificate and then click Start. Once it has finished, repeat this for the client certificate.
3. Trusting the Server Certificate
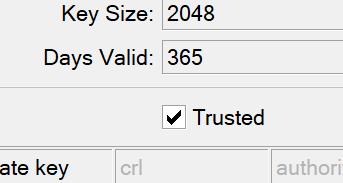
/certificate set server-cert trusted=yesClick on the server-cert and check the Trusted box
Exporting the Certificates
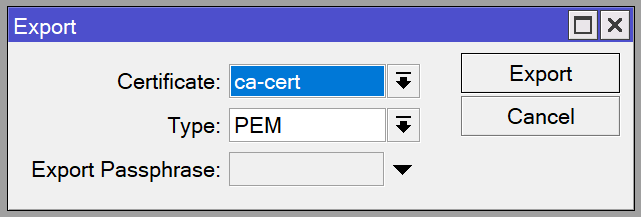
1. Exporting the CA Certificate
/certificate export-certificate ca-cert export-passphrase=""Click on the CA certificate and click the Export button. Leave the export passphrase blank.
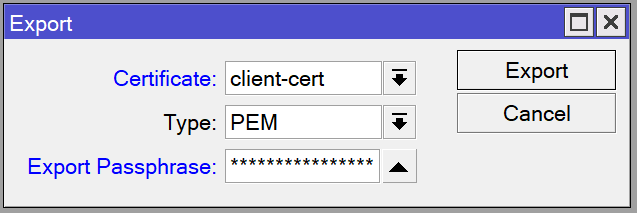
2. Exporting the Client Certificate
/certificate export-certificate client-cert export-passphrase="[your password]"Click on the client certificate and click the Export button. Type in your desired password (must be at least 8 characters) into the Export Passphrase box, then press Export.
3. Transferring the Files
You should now have 3 files – the CA certificate, the client certificate, and the client key.
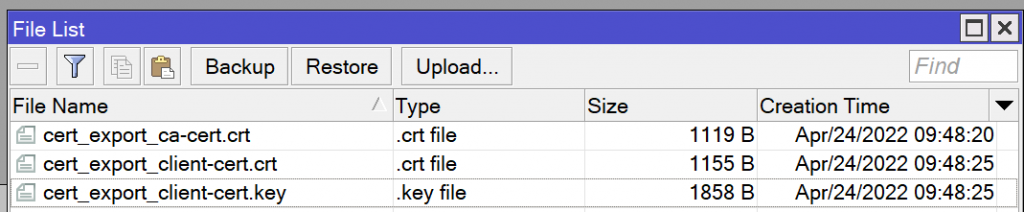
Copy the 3 files to your computer and rename them to “ca.crt”, “client.crt”, and “client.key”
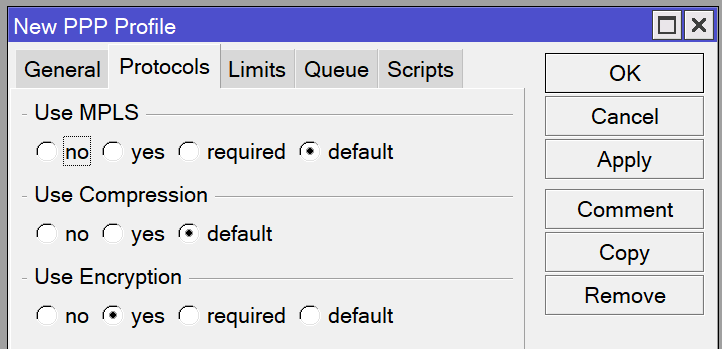
Create a PPP Profile
/ppp profile add name="VPN-Profile" use-encryption=yes local-address=[MikroTik's LAN IP] dns-server=[MikroTik's LAN IP] remote-address="[LAN IP pool name]" bridge="[LAN bridge name]"Open the PPP window and navigate to the Profiles tab. Create a new profile called “VPN-Profile”. Set the local address to your MikroTik’s LAN IP address and choose your VPN IP address pool for the remote address. Set the bridge to your LAN bridge, then navigate to the Protocols tab and change Use Encryption to yes.

Create a VPN User
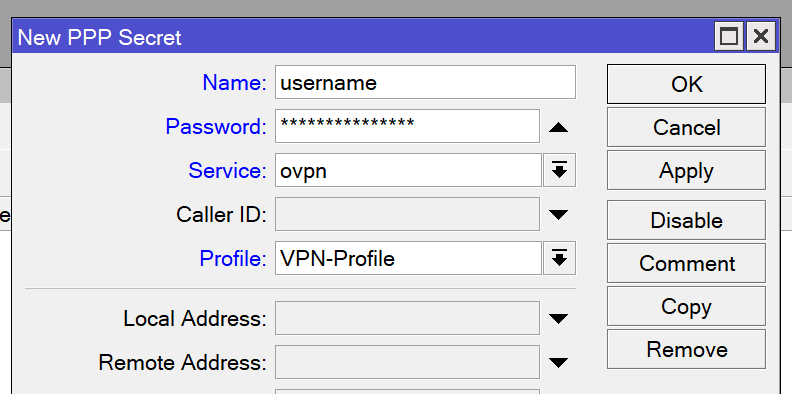
/ppp secret add name=username password="[your password]" service=ovpn profile="VPN-Profile"Open the PPP window and navigate to the Secrets tab. Add a new entry with the name set to the desired username and the password set to the desired password. Set the service to ovpn and change the profile to your PPP profile.
Set up the OpenVPN Server Interface
/interface ovpn-server server set default-profile=VPN-Profile certificate=server-cert require-client-certificate=yes auth=sha1 cipher=aes128,aes192,aes256 enabled=yes port=[port–default 1194] protocol=[tcp/udp] mode=[ethernet/ip]- Open the PPP window and navigate to the Interface tab. Click the OVPN Server button in the bar at the top to edit the OpenVPN server interface.
- Check the enabled box and set the port to the desired port number. The default is 1194, but you may want to use an alternative port.
- Set the mode to ip for a layer 3 VPN or ethernet for a layer 2 VPN. Layer 3 is the recommended option.
- Set the protocol to either UDP or TCP, depending on which one you want to use. UDP is the recommended option.
- Set the netmask to the CIDR netmask for your LAN subnet (usually 24)
- Change the default profile to the PPP profile you created earlier
- Change the certificate to your server certificate and check the “Require Client Certificate” button
- In the Auth section, check the box that says sha1 and uncheck all other boxes
- In the Cipher section, check the boxes for AES 128, 192, and 256. Uncheck all other boxes.

Add a Firewall Rule
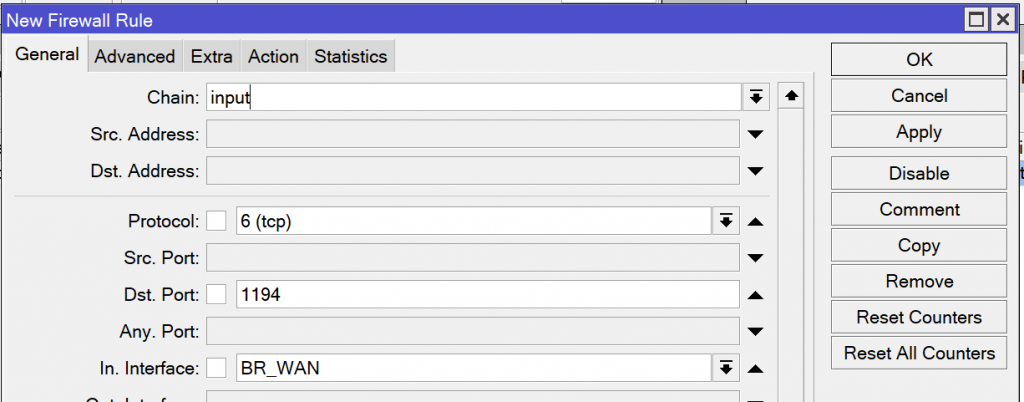
/ip firewall filter add action=accept chain=input dst-port=1194 in-interface=BR_WAN protocol=udpOpen the IP -> Firewall window and navigate to the Filter Rules tab. Create a new rule on the input chain that allows incoming traffic from the WAN on the TCP or UDP port you used for your OpenVPN server interface. The specifics of this rule may differ depending on your firewall configuration.

Create Logging Rules
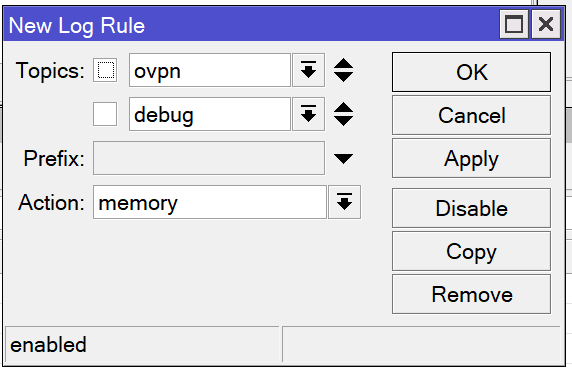
/system logging add topics=ovpn,debug action=memory
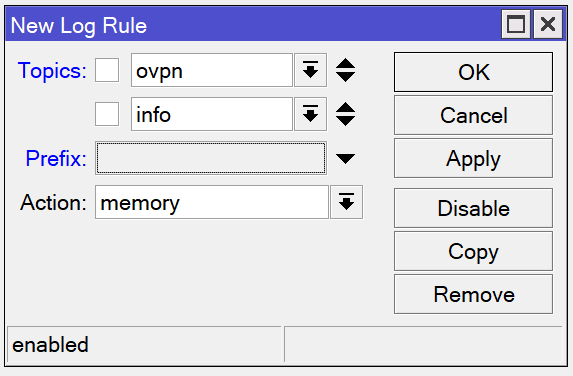
/system logging add topics=ovpn,info action=memoryYou can tell the router to save OpenVPN logs into the log buffer. In the System -> Logging menu, create two new rules. The first rule should match the ovpn and info topics and send them to memory. The second rule should match the ovpn and debug topics and send them to memory. You can remove these later if desired, but it is recommended to leave these enabled while trying out the VPN server for the first time.
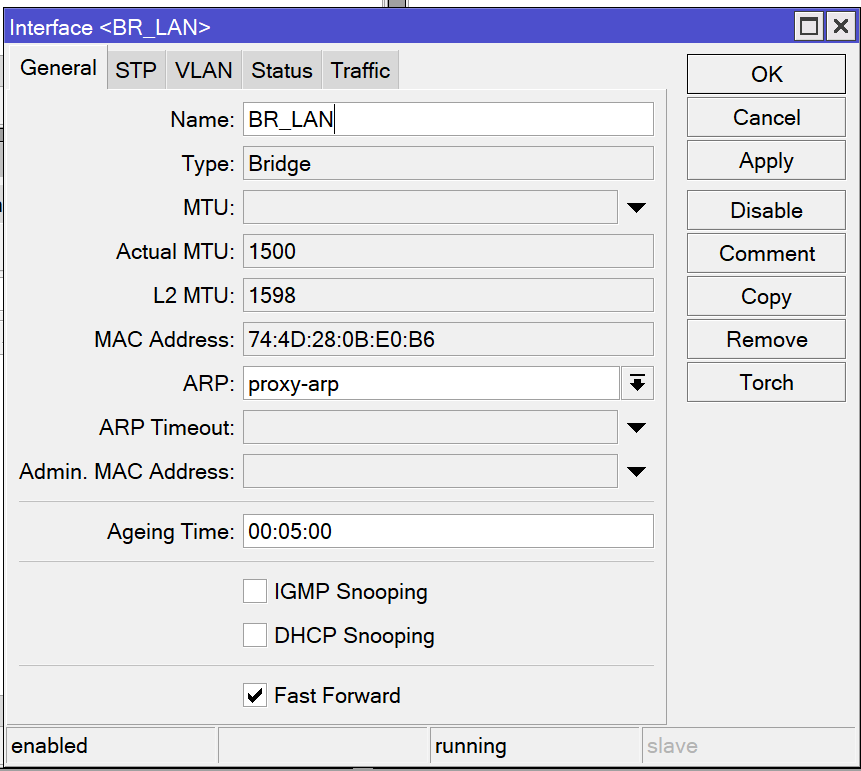
Enable Proxy ARP
/interface bridge set BR_LAN arp=proxy-arpOpen the Bridge window and edit your LAN bridge. Change ARP from enabled to proxy-arp. This will allow VPN clients to communicate with other devices on the LAN.
Connecting to the VPN
You must be on a separate network when connecting to the VPN server.
Connecting from Ubuntu Linux
- Open the Settings application
- Click on Network in the menu on the left
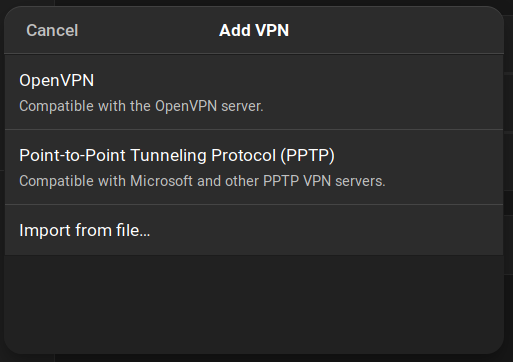
- In the VPN section, click the plus icon to set up a new VPN connection
- Click OpenVPN in the menu
- Set the name to your desired name for the VPN connection
- Set the gateway to the domain name or public IP address. If you used a nonstandard port number, add a colon followed by the port number
- In the Authentication section, change the type to Password with Certificates (TLS)
- Fill in your username and password
- Choose ca.crt for the CA certificate, client.crt for the user certificate, and client.key for the user private key
- Fill in the password you set for the client certificate in the user key password box
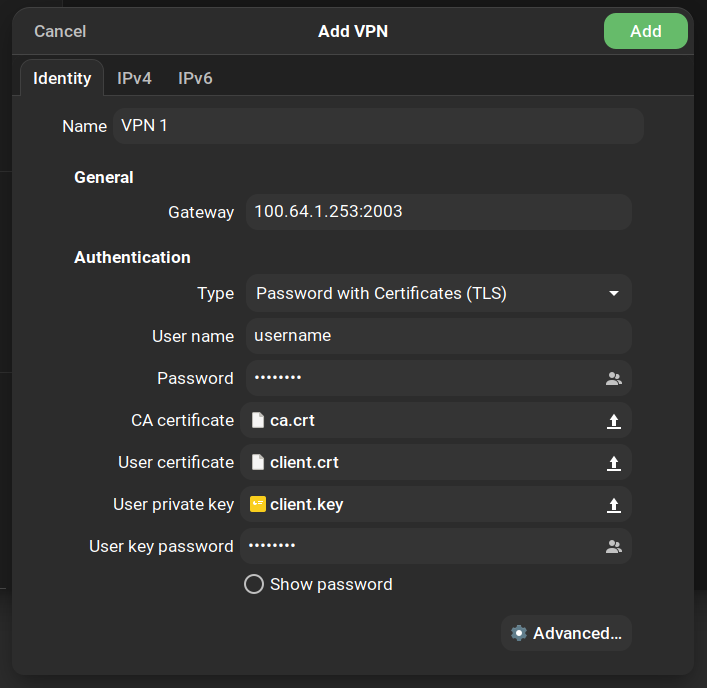
- Click the button at the bottom that says Advanced
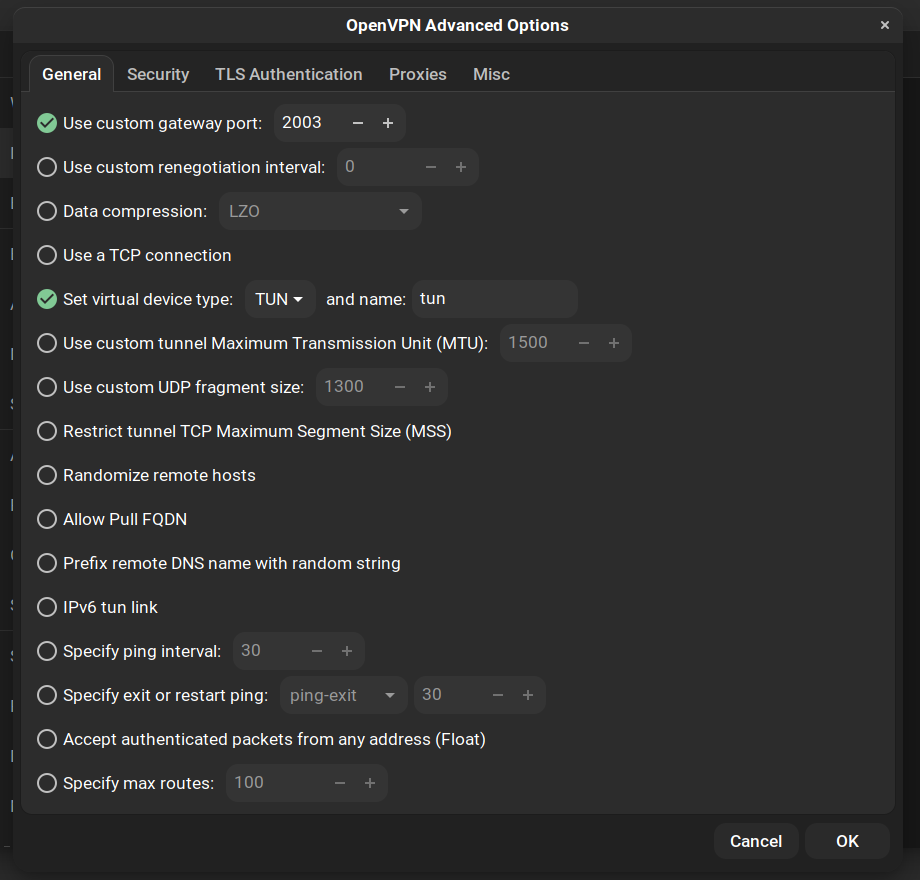
- If you used a port other than 1194, check the box that says “Use custom gateway port” and fill in the port number
- If you set up a TCP VPN, check the box that says “Use a TCP connection”. Otherwise, leave it unchecked.
- Check the box that says “Set virtual device type”.
- If you set up a layer 3 (IP) VPN, choose TUN in the dropdown and set the name to “tun”
- If you set up a layer 2 (ethernet) VPN, choose TAP in the dropdown and set the name to “tap
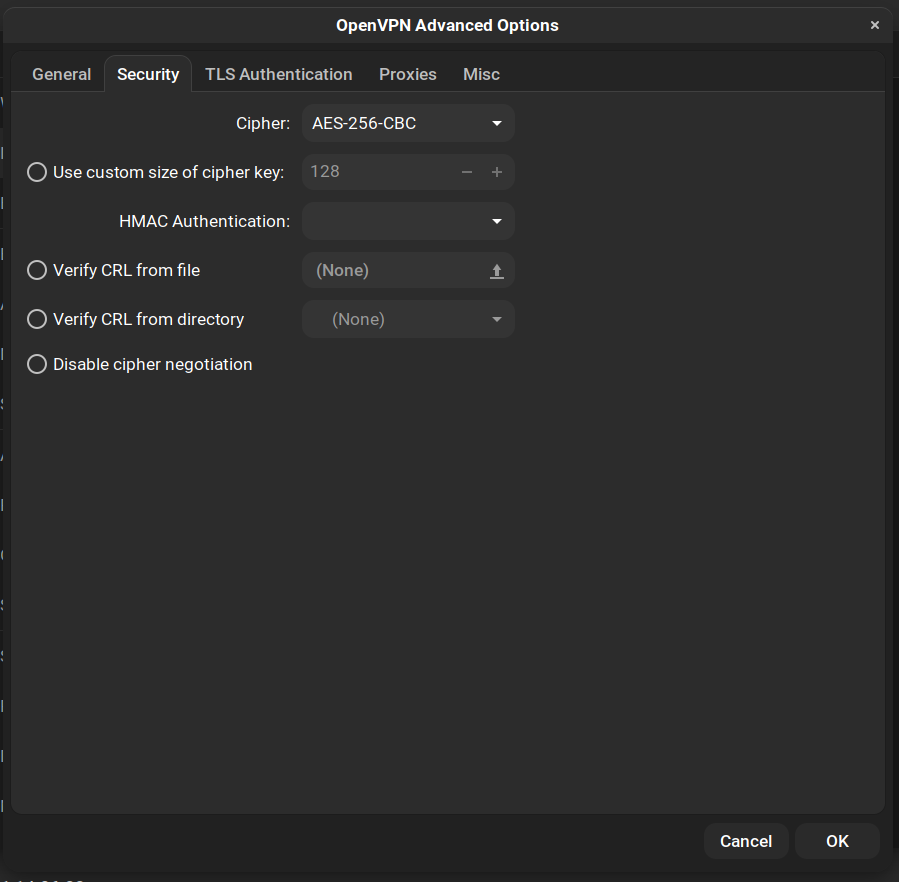
- Navigate to the Security tab and change the cipher to AES-256-CBC
Connecting from Android
Please note that the Android VPN API does not support layer 2 VPN connections, so you must be using a layer 3 VPN in order for this to work.
Start by creating a file called client.ovpn:
client
dev tun
proto [udp/tcp]
remote [IP address]:[port]
port [port]
nobind
persist-key
persist-tun
tls-client
remote-cert-tls server
ca ca-cert.crt
cert client-cert.crt
key client-cert.key
verb 4
mut 10
cipher AES-256-CBC
auth SHA1
auth-nocache
connection-type password-tls
dev-type tap
password-flags 1
username [username]- Fill in the relevant information in the config file.
- Create a file called pass.txt. On the first line, write your username. On the second line, write your password
- Copy client.ovpn, pass.txt, ca-cert.crt, client-cert.crt, and client-cert.key to your phone
- Download and install the OpenVPN Connect app
- Open the app and click the plus button at the bottom
- Click File at the top and navigate to the location of your files
- Import the VPN profile and connect to it
Troubleshooting Connection Issues
Use the logs that you enabled earlier to help narrow down the causes of the issue.
No Logs
- Did you configure your VPN client to use the correct protocol (TCP/UDP) and port number?
- Is your firewall blocking the connection? Try using firewall logs/counters to trace down the issue, or temporarily disable the firewall if you feel comfortable doing so.
“Connection Established” logs, but no “<ovpn-username>: connected” logs
- Does the MikroTik have the correct clock time? If not, you will need to set it and then regenerate your certificates.
- Did you select the server-cert in the OpenVPN server interface?
- Are you using the correct username and password?
- Are you using the correct password for your client certificate?
- Is your OpenVPN client using the correct cipher?
- Are you seeing log messages that say “TLS failed” or “User authentication failed”?
Connected but unable to pass traffic
- Does the network you are connecting from use the same IP address range as the VPN server?
- If you are using a layer 2 VPN and get the error “could not add bridge port: device already added as bridge port”, you need to remove the entry from the bridge ports section for all interfaces
- Try disabling and re-enabling spanning tree on the bridge